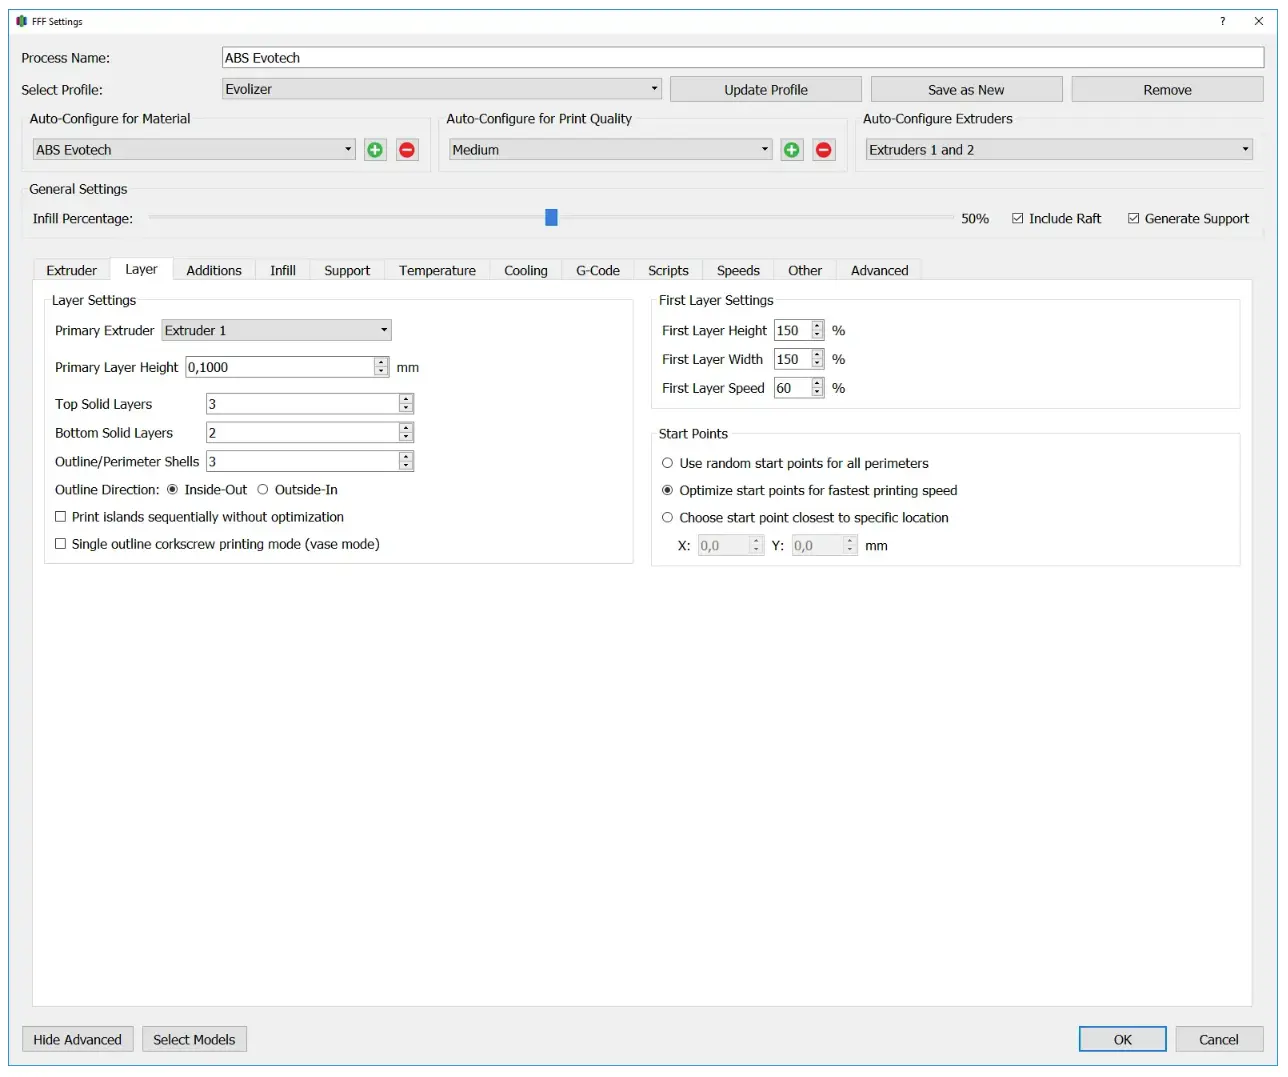
Layer Settings
The settings in this area can be used to start or end a process in the Z direction from a set height. This can be useful to split a model in the Z direction by simply stopping printing at a set height, or to print the component with different settings, e.g. layers of different thicknesses.
Primary Extruder
This setting determines which extruder will be used to print perimeter and the bottom and top layers.
Primary Layer Height
This value indicates how thick a layer of the printed component is. This value should be between 25 and 75% of the nozzle diameter.
Top Solid Layers
This value indicates the number of top layers of the component. This value multiplied by the primary layer thickness gives the upper wall thickness of the component.
Bottom Solid Layers
This value indicates the number of lower cover layers of the component. This value multiplied by the primary layer thickness gives the lower wall thickness of the component. However, it is important to note that the first layer of a 3D printed component is sometimes made a little thicker in order to avoid problems caused by the unevenness of the build platform.
Perimeter Shells
Perimeters replicate the surface of the component. The number of perimeters multiplied by the extrusion width gives the outer wall thickness. Perimeters make a significant contribution to the stability of a 3D printed component.
Outline Direction
For perimeters you can still set whether they should be printed from outside to inside or from inside to outside. Printing the perimeter from the inside out gives it better stability when printing overhangs, while the reverse direction is better for vertical surfaces.
Print islands sequentially without optimization
If this option is activated, the perimeters of small areas are not optimized for printing time, but rather so that the nozzle emits as little radiant heat as possible at once to avoid overheating the area. This provides better quality for small areas, but may increase printing time.
Single outline corkscrew printing mode (vase mode)
This option sets the infill to 0% and the number of perimeters to 1. If you select this option, no more layers are printed; instead, the z-height is continuously increased and the surface of the component is reproduced with a continuous spiral in order to avoid unevenness in the component, such as those caused by the attachment and removal of the print head when changing layers .
First Layer Settings
In order to achieve good adhesion to the build platform, the first layer of a component is often slightly thicker and with a slower printing speed than the rest.
First Layer Height
Specifies how high the first layer runs compared to the Primary Layer Height . For nozzle diameters up to 0.8 mm, 150% is a good guideline, but above that the value should be slightly lower.
First Layer Width
Specifies how wide the paths of the first layer are executed compared to the Extrusion Width . For nozzle diameters up to 0.8 mm, 150% is a good guideline, but above that the value should be slightly lower.
First Layer Speed
Specifies how quickly the areas of the first layer are printed compared to the settings in the Speeds tab.
Start Points
The start and end points of the outermost perimeters sometimes leave visible markers in the component and, in the worst case, can even weaken the structure. The settings of this sub-item offer the possibility to control the placement of these start and end points.
Use random start points for all perimeters
With this setting, the start and end points are randomly distributed. This option extends the printing time but usually results in more stable components.
Optimize start points for fastest printing speed
With this option, the focus is on minimizing printing time. The start and end points are placed so that the print head has the shortest idle travel distance.
Choose start point closest to specific location
This option allows the start and end points to be placed at a specific location, such as at corners or hidden behind a curvature of the component. This makes sense when aesthetic aspects are in the foreground.